Your first sprite
Open the editor, make a sprite, draw, and save and export your work.
This walks through making a small sprite from start to finish: creating it, drawing, undoing mistakes, and getting a PNG out. It takes about five minutes.
Open the editor
Go to app.pxstud.io. There's nothing to install and no account to make: the editor starts with a project called "Untitled Project" holding one blank sprite, "Untitled 1" (64×64 pixels, transparent, with a 24-color starter palette).
The default layout has:
- the menu bar across the top;
- the palette, color picker and foreground/background colors on the left;
- the tool options bar, the canvas and the timeline in the middle;
- the toolbar on the right.
On a phone or a small window, the editor uses a compact layout instead, with the side panels folded into tabs. Everything is still there; see The workspace.
Make a new sprite
Choose File > New Sprite... (Ctrl+Alt+N), or click + at the end of the sprite tabs. The New Sprite dialog opens on 64×64.
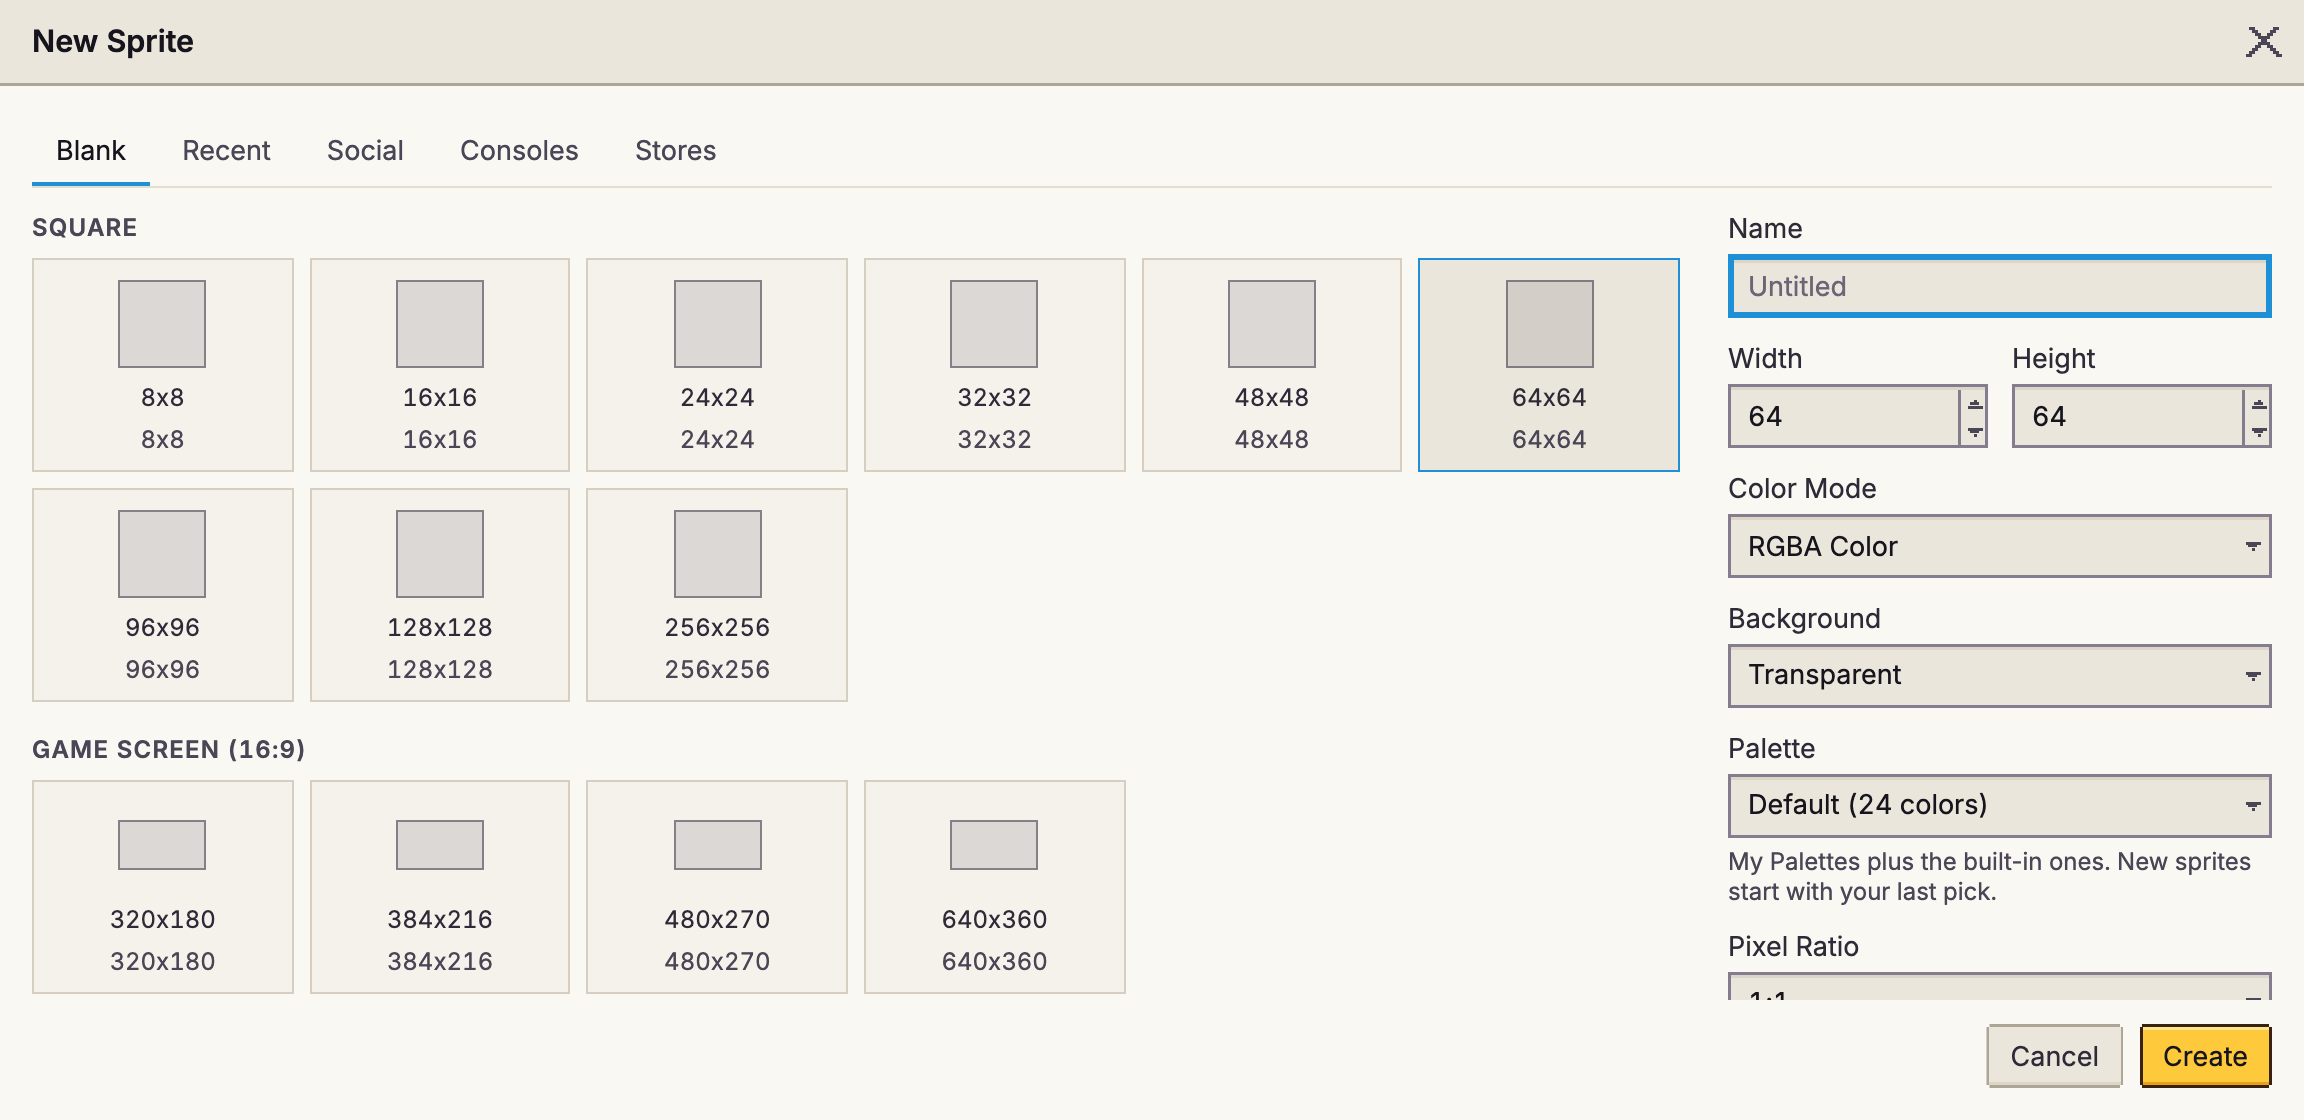
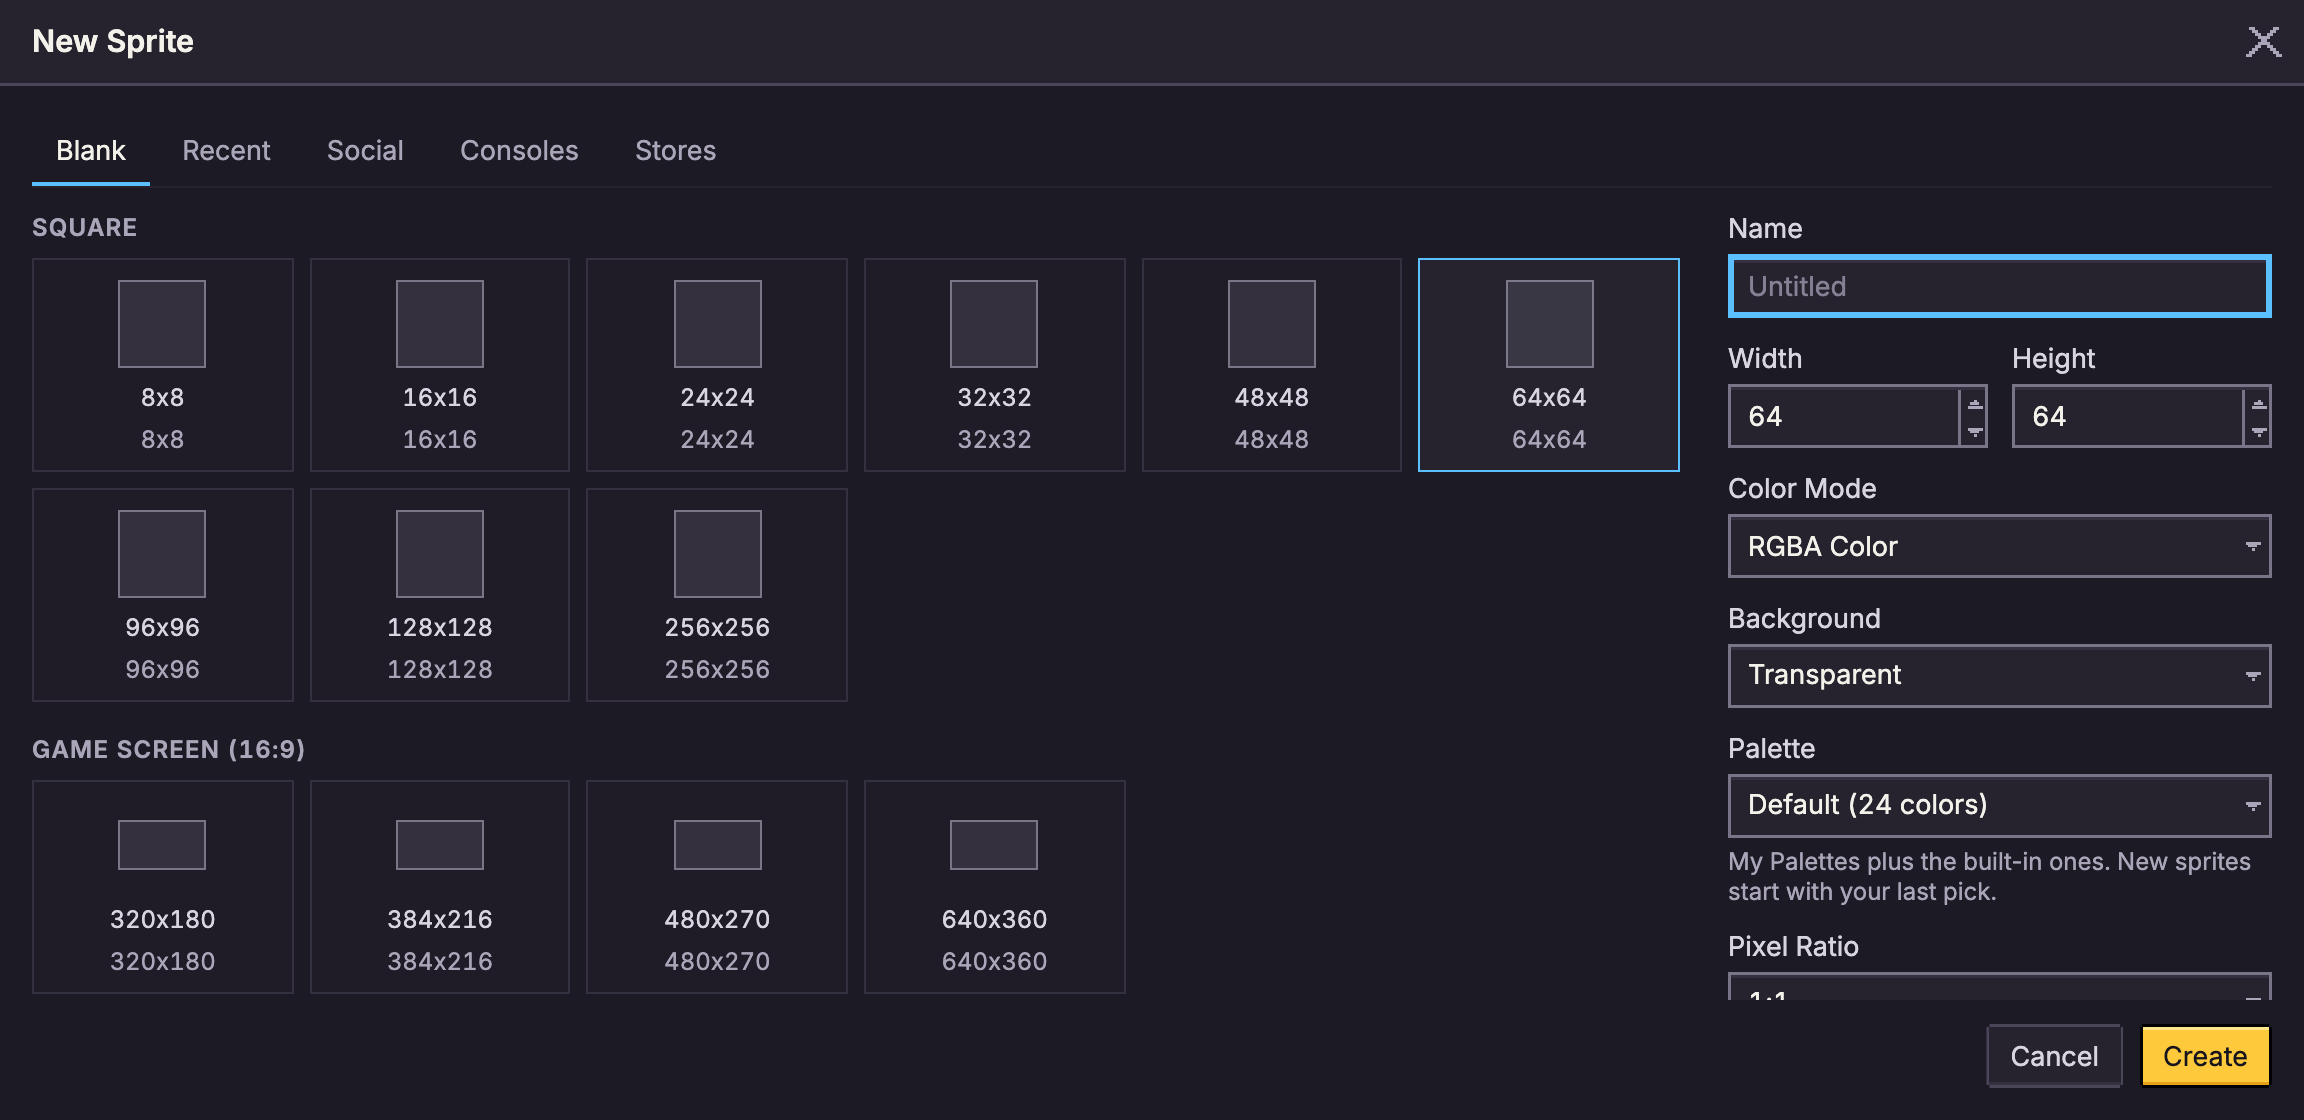
- Presets across the top fill in common sizes: Blank (squares and game screens), Social (YouTube, Instagram and more), Consoles (the native screens of classic systems and fantasy consoles like PICO-8), Stores (Steam, itch.io and the app stores) and Recent (sizes you've used).
- For Social and Stores sizes, a Pixel Size row offers smaller canvases that scale up exactly. Pick "320x180 ×4", draw at 320×180, and export at 400% to get a crisp 1280×720 image.
- Width and Height set the size yourself.
- Color Mode is RGBA Color (any color, with transparency), Grayscale, or Indexed Color (every pixel is one of the palette's colors).
- Background is Transparent, White, or your background color. A non-transparent background becomes a Background layer.
- Palette starts the sprite with the default palette, one of My Palettes, or a built-in palette.
Click Create. The sprite opens in a new tab, in the current project.
Draw
- Pick a color: click a swatch in the palette to make it the foreground color, or right-click it to make it the background color. Press X to swap the two.
- Pick the Pencil (B) and drag on the canvas. The right mouse button draws with the background color.
- Try the Paint Bucket (G) to fill an area, the Rectangle (U) for boxes, and the Eraser (E) to clear pixels. Holding Alt over the canvas picks up a color with the Eyedropper.
Every tool is described in the Tools reference.
Undo with Ctrl+Z and redo with Ctrl+Shift+Z or Ctrl+Y. Each sprite has its own undo history, and the history button under them in the toolbar (or Edit > Undo History) shows every step as a tree so you can jump back to any of them, including steps you undid and then replaced with something else.
Move around
- Zoom with the mouse wheel or a trackpad pinch (it zooms around the pointer), or with Ctrl+= and Ctrl+-. Ctrl+Shift+0 fits the whole sprite in view.
- Pan with a two-finger trackpad scroll, the middle mouse button, or the Hand (H).
- On a touch screen, one finger draws and two fingers pinch to zoom and pan. Tap with two fingers to undo, or three to redo.
Saving
You don't have to save: every change is kept in your browser as you work, and the header shows Saved locally once it is. Close the tab and come back later, and your project, its sprites and the tabs you had open are still there. The editor also works offline once you've opened it.
You can also install the editor as an app, with its own window and icon: in Chrome, Edge and other Chromium browsers, use the install icon at the end of the address bar; on iPhone and iPad, tap Share, then Add to Home Screen. On a computer or an Android phone, the app and the browser tab share the same work. On iPhone and iPad, the Home Screen app keeps its own copy, apart from Safari's: sign in to Sync in both to have the same sprites.
- File > Save (Ctrl+S) saves right away instead of waiting a moment.
- File > Save As... (Ctrl+Shift+S) downloads the sprite as a
.pxstudiofile, a copy you can keep, share, or open again with File > Open... (Ctrl+O).
Export a PNG
Choose File > Export... (Ctrl+Alt+Shift+S). The dialog shows a live preview of the file you'll get.
- Type: PNG, Animated GIF, Animated PNG, Sprite Sheet, Aseprite file, WebP, MP4 video and more.
- Resize: scale the image up by whole steps (100% to 1600%) so every pixel stays a sharp square. Pixel art is usually drawn small and exported big.
- Frames: all of them, only the current one, or one tag's frames.
Click Export and the file downloads.
Find any command
Press Ctrl+K to open the command palette and type what you want ("flip", "onion", "export"). It lists every command with its menu and shortcut, and the ones you used recently come first.
Next
- Layers: draw the outline, colors and shading separately.
- The workspace: arrange the panels the way you like.
- Menus: everything in the menu bar.