The workspace
Move, dock, float and hide panels, switch between layouts, and open more than one editor.
Everything around the canvas is a panel, and every panel can be moved, resized, stacked with others or closed. Arrange the editor for drawing, for animating or for a small laptop screen, save the arrangement as a layout, and switch between layouts from the View menu.
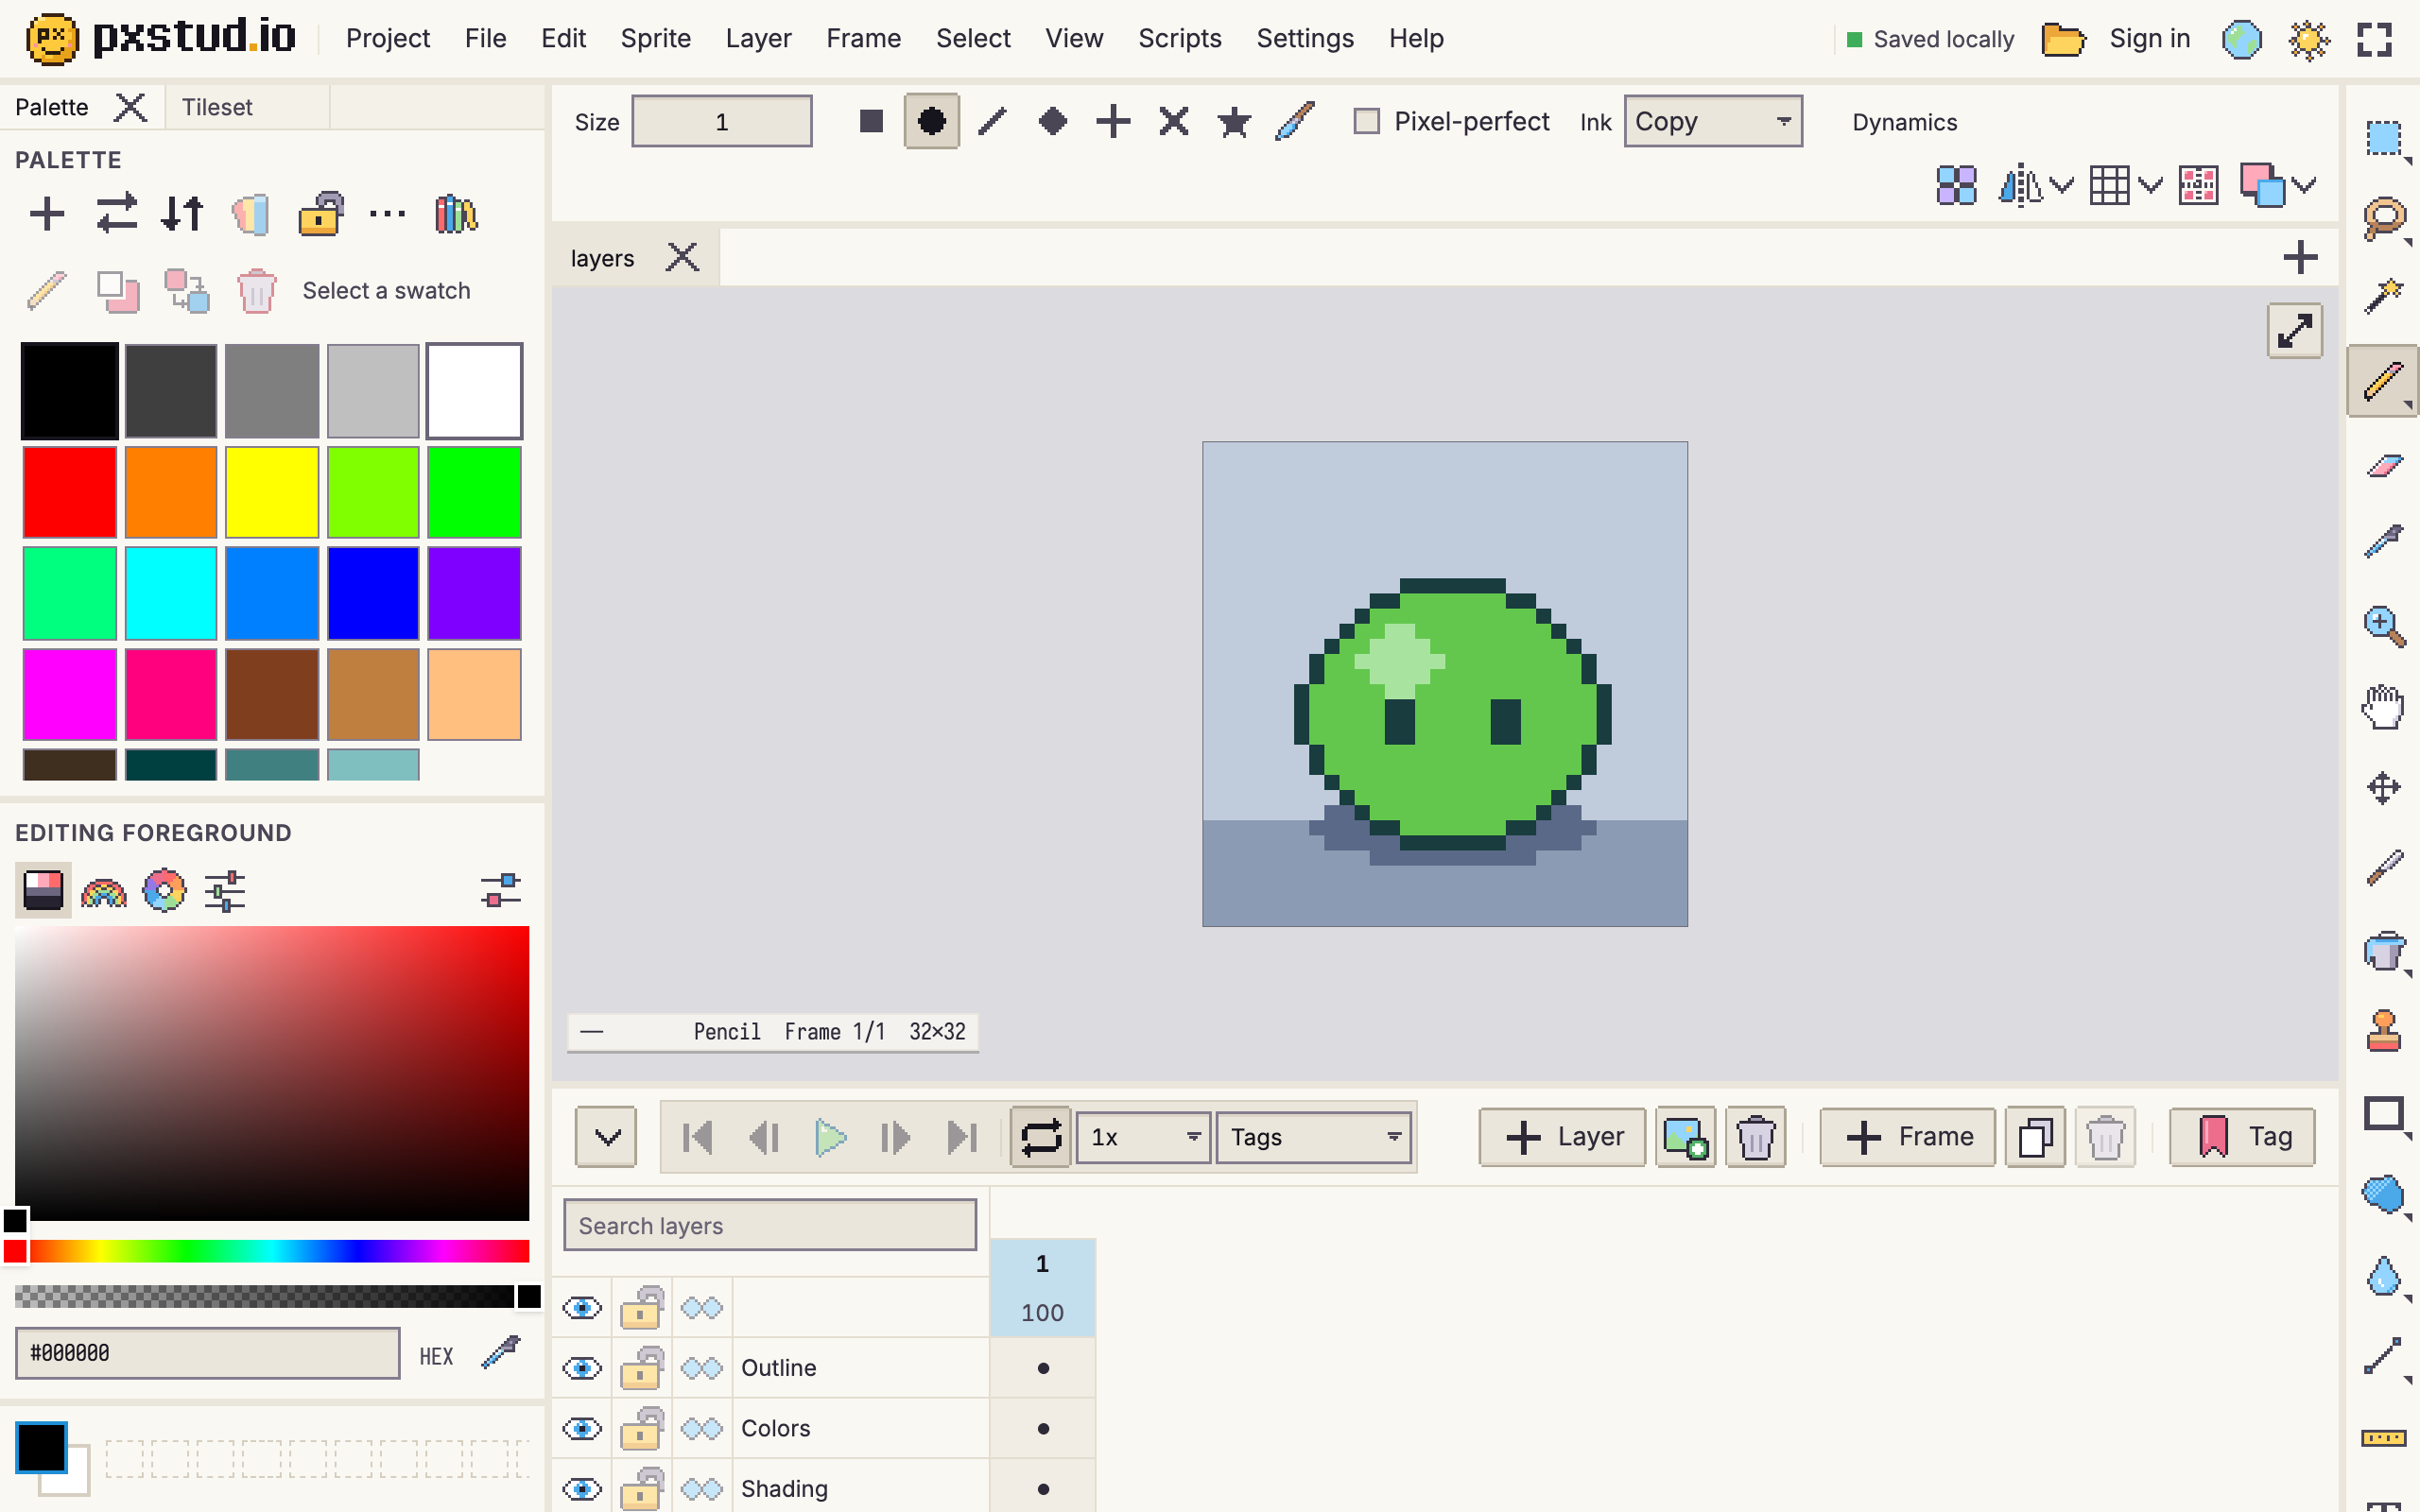
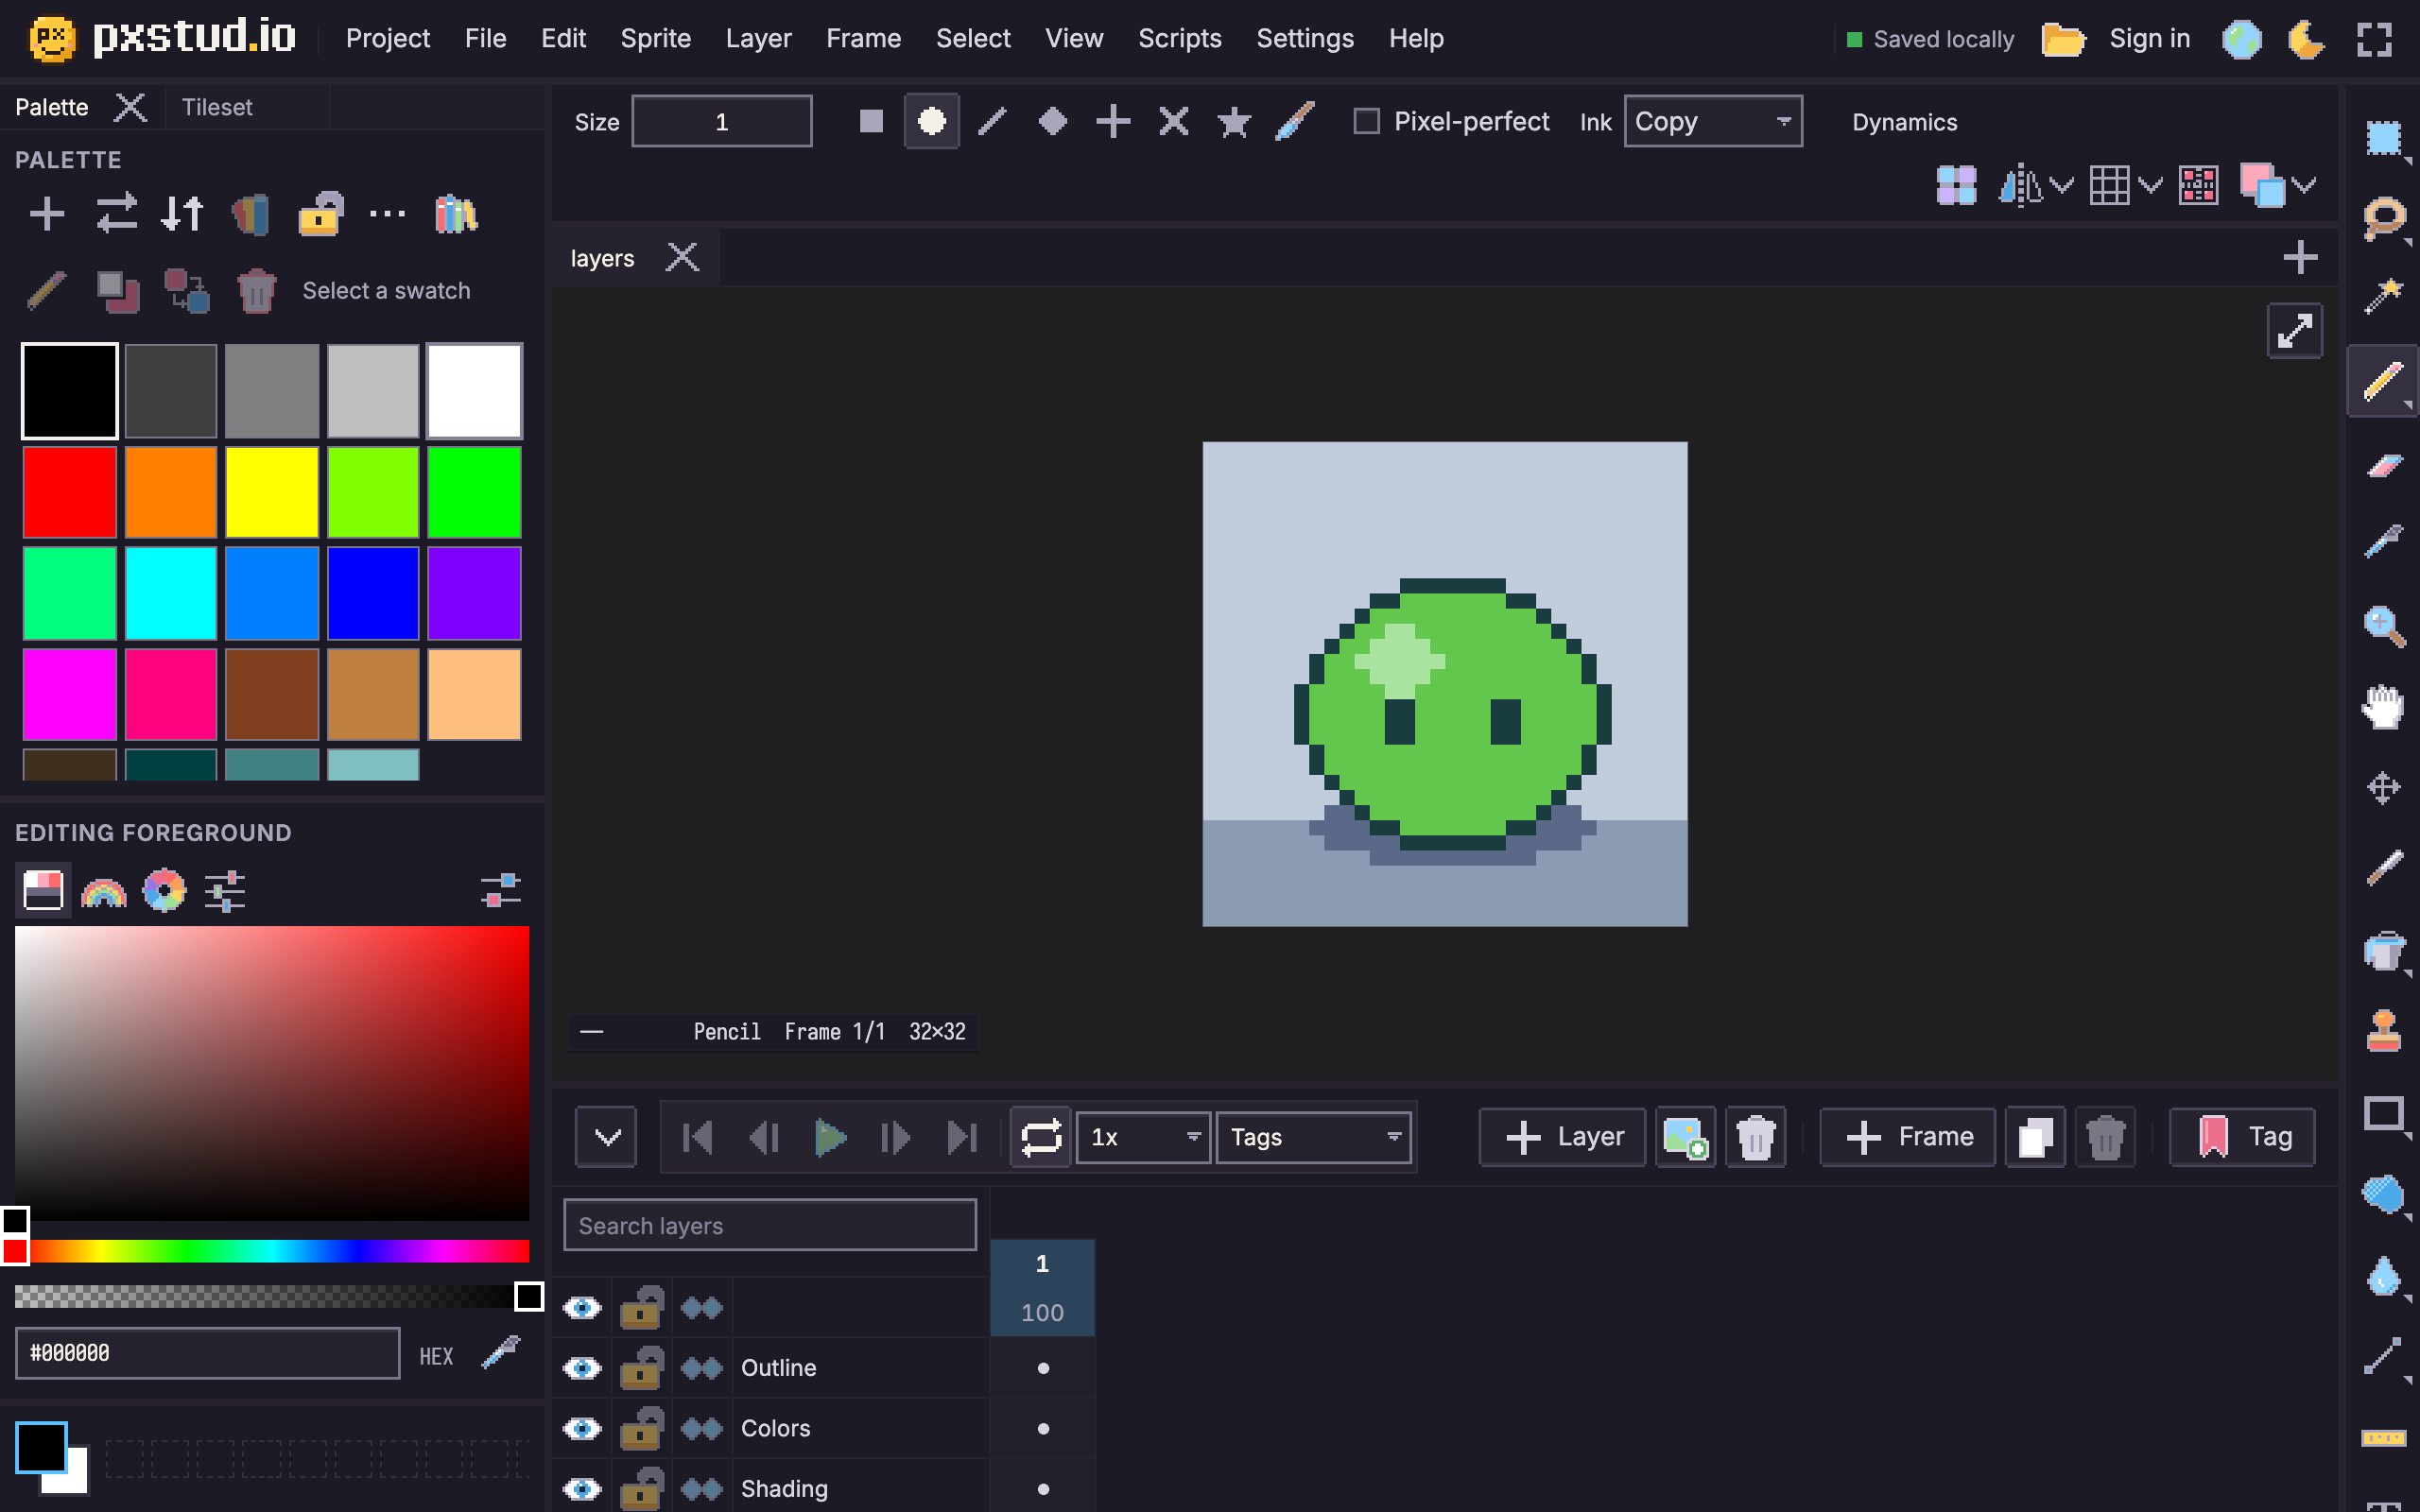
The panels
| Panel | What it's for |
|---|---|
| Menu bar | The menus, plus the save status, your account and the theme and full-screen buttons. |
| Tools | The tools. |
| Tool options | Settings for the current tool. |
| Editor | The sprite tabs and the canvas. You can open several. |
| Timeline | Layers, frames, cels and tags. |
| Palette | The sprite's colors. |
| Color picker | Picks any color for the foreground or background. |
| Colors | The foreground and background colors and your recent colors. |
| Tileset | The tiles of the active tilemap layer; it comes to the front when you select one. |
| Preview | A second, separate view of the sprite. |
| Scripts | The script editor; it opens when you create or open a script. |
The menu bar, Tools, Tool options and Colors are bars: they size themselves to their contents and dock only along edges.
Moving panels
Drag a panel by any empty part of it, or by its tab. (Fields, sliders, the canvas and lists don't start a drag, so they keep working normally.) While you drag, the drop target highlights:
- onto another panel's edge to split the space with it;
- onto another panel's middle or its tabs to stack it there as a tab;
- along the edge of the workspace to dock it across that whole side;
- with Alt held to float it in its own window, which you can resize from any edge.
Esc cancels the drag. On a touch screen, hold your finger on the panel for a moment before dragging.
Drag the lines between panels to resize them. They also work from the keyboard: Tab to a line, then use the arrow keys (Shift for bigger steps). Double-click a line, or press Enter on it, to fit the panels beside it to their contents. No panel can be made smaller than its contents.
The panel menu
Right-click a panel's empty space or its tab (or long-press it, or press Shift+F10) for its menu:
- Float, or Dock to the left, right, top or bottom edge;
- Collapse to Tabs (show just the tabs; clicking one opens the panel over the workspace) or Expand;
- Stack with another panel;
- New editor beside this one (editors only);
- Close.
Showing and hiding panels
View > Panels > Timeline, View > Panels > Palette and the other items in View > Panels show and hide each panel. A panel you reopen goes back where it was.
If you close the menu bar and the Colors bar too, a ☰ Workspace button appears in the corner to bring the menu bar back or reset the layout.
Layouts
View > Workspace lists the layouts. Choose one to switch to it.
| Layout | Arrangement |
|---|---|
| Default | Palette, color picker and colors on the left; tool options, canvas and timeline in the middle; tools on the right. |
| Animation | Like Default, with a taller timeline and the Preview docked beside the canvas. |
| Minimal | Just the menu bar, tool options, the canvas and the tools. |
| Compact | For phones held upright: the canvas with tools down the side, and the other panels as tabs that open as sheets. |
| Compact (Landscape) | The same for phones held sideways. |
- View > Workspace > Save Layout As... saves the current arrangement under a name. Tick Include these settings to have the layout also bring your view preferences, theme, keyboard shortcuts or tool defaults with it whenever you switch to it.
- View > Workspace > Update Current Layout saves changes to the active saved layout.
- View > Workspace > Reset Layout puts the panels back the way the active layout was saved.
- View > Workspace > Manage Layouts... lets you rename, delete, export and import layouts (as
.pxlayout.jsonfiles, to share them or move them to another browser). - View > Workspace > Lock Layout stops panels being moved by accident.
Layouts are saved in this browser, on this device. They aren't synced to your account.
Small screens and phones
When the window is narrower than 768 pixels or shorter than 500, the editor switches to the Compact layout (Compact (Landscape) when the window is wider than it is tall). It switches back when the window grows again. This goes by window size, so a narrow desktop window gets the compact layout too.
Each size keeps its own arrangement, so rotating a phone or resizing a window never undoes how you set up the other. A desktop arrangement that no longer fits the window also gives way to the compact one until there's room again.
In the compact layouts, panels shown as tabs open as sheets over the workspace: tap the tab again, tap elsewhere or press Esc to close one, and drag its edge to make it bigger. The menus are under the ☰ in the Colors bar. Compact layouts start locked; unlock them from the panel menu or View > Workspace > Lock Layout.
More than one editor
View > New Editor opens another editor beside the current one. Use it to see the same sprite at two zoom levels, or two sprites side by side.
- Each editor has its own zoom, pan, rotation, tiled mode, pixel grid and onion skin, and shows its own sprite.
- Tools, brush and colors are shared by every editor.
- The editor you last clicked is the active one: menus and shortcuts act on its sprite.
Zoom, pan and rotate
| To | Do |
|---|---|
| Zoom in or out | Mouse wheel or trackpad pinch (around the pointer, or the middle of the view), Ctrl+= / Ctrl+-, or the Zoom |
| See the whole sprite | View > Fit to Window (Ctrl+Shift+0) |
| See pixels at 100% | View > Actual Size (Ctrl+0) |
| Pan | Hold Space and drag (with any tool, as in Aseprite), two-finger trackpad scroll, the middle mouse button, Shift + mouse wheel to go sideways, or the Hand |
| Rotate the view | Ctrl+Alt+] / Ctrl+Alt+[; click the angle badge on the canvas, or press Ctrl+Alt+0, to straighten it |
Rotating the view only turns how you see the sprite, never the sprite itself. Zoom goes from 1/64 (about 2%) to 64×, Aseprite's range, so even a 4096-pixel sheet fits on screen.
Zoom snapping (Settings > Zoom Snapping > Whole Numbers, under Settings) decides which zoom levels you can land on:
- Whole Numbers (the default): Aseprite's zoom levels, 1×, 2×, 3×, 4×, 5×, 6×, 8×, 12×, 16×, 24×, 32×, 48× and 64×, and below 100% 1/2, 1/3, 1/4, 1/5, 1/6, 1/8, 1/12 and so on down to 1/64. Every pixel is the same size on screen: at 2.5× some pixels would be two screen pixels wide and others three.
- Powers of Two: 1/64, 1/32 ... 1/2, 1×, 2×, 4×, 8×, 16×, 32× and 64×, for bigger jumps.
- Off (Smooth): any level in between, in small steps.
While snapping is on, each wheel notch, zoom key or zoom-tool click moves one level. Trackpad and two-finger pinches jump from level to level as you go. View > Fit to Window picks the largest level that still fits. The setting applies to every editor and to the preview, and is kept on this device.
Mouse and trackpad (Settings > Mouse and Trackpad...) changes how the mouse works on the canvas:
- Mouse wheel: Zoom (the default) zooms with the wheel and pans with a trackpad's two-finger scroll. Scroll the view pans with the wheel instead (Shift + wheel goes sideways) and zooms with Ctrl + wheel (⌘ + wheel on a Mac). A trackpad pinch zooms either way.
- Zoom around: the point under the pointer stays still as you zoom (the default), or the middle of the view.
- Brush size: Ctrl+Shift + wheel (⌘⇧ + wheel on a Mac) makes the active tool's brush, or a line's width, bigger with the wheel going up. Invert brush-size wheel turns that round, as in older Aseprite.
- Right button: the tool's own right-click (the default: most tools paint with the background color, as in Aseprite), or Erase while held, Pick color while held or Pan the view. The Zoom, Slice and Text tools keep their own right-click. A pen's side button counts as the right button.
- Back and forward buttons open the tool wheel while you hold one over the canvas; let go over a tool to pick it. The browser doesn't go back while the pointer is over the canvas.
- Cursor size: 100%, 150% or 200%, still sharp.
The middle button always pans. Any mouse button but the left one, and either wheel direction, with or without modifier keys, can also run a command: add it in Settings > Keyboard Shortcuts..., where it replaces what the button or wheel did on the canvas (Keyboard shortcuts).
Full screen: the button at the right of the menu bar makes the whole editor full screen, and the button in the canvas's top-right corner shows just the canvas. Esc leaves either.
Canvas info: View > Show Canvas Info shows a readout in a corner of the canvas (pointer position, selection size, tool, layer, frame, zoom and more). Choose its corner and what it shows with Settings > Canvas Info....