Slices
Mark named regions of a sprite for export, game engines and 9-slice scaling, with a pivot and per-frame changes.
A slice is a named rectangle on the sprite: a button's area, a character's hitbox, the part of a sheet a game should cut out. Slices hold no pixels, so drawing never changes them. They're saved with the sprite, written into Aseprite files and sprite sheet data, and a game engine can read them from there.
A slice can also carry a 9-slice center, for art that stretches without distorting its corners, and a pivot, a point the game treats as the slice's origin.
Making a slice
Pick the Slice (Shift+C) and drag on an empty spot of the canvas, from one corner to the opposite one; a dashed outline shows it as you drag. Hold Shift to make it square. The new slice is named "Slice 1", "Slice 2" and so on, and is selected, ready to adjust.
Every slice is drawn on the canvas as a dashed outline with its name, whatever tool you're using. A slice with a color in its user data (below) is outlined in that color; the others get colors of their own in turn, so neighbors are easy to tell apart.
With Snap to grid (Shift+S) on, slice edges snap to the document grid, both when you make a slice and when you drag it. With Snap to guides (Ctrl+Shift+;) on, making, moving and resizing slices, and moving their 9-slice lines and pivots, also snap onto nearby guides (a moved slice lands whichever edge is nearer).
Auto-slice
To cut a sprite sheet or an icon set into slices in one go, choose Sprite > Auto-slice.... It adds one slice around each separate painted region, found in the frame's visible layers or only in the active cel. Pixels that touch at a corner count as one region. Set:
- Merge gap: regions whose bounding boxes are this many pixels apart or closer (or overlap) become one slice. 0 keeps every separate region.
- Min width and Min height: smaller regions are skipped.
The dialog shows how many slices it will add. They are named "Slice 1", "Slice 2" and so on, top to bottom then left to right, after the slices you already have, and the whole run is one undo step. Each one exports like any other slice.
Selecting, moving and resizing
With the Slice tool:
| To | Do |
|---|---|
| Select a slice | Click it. A selected slice has a solid outline and eight square handles. |
| Select more than one | Shift+click or Ctrl+click to add a slice or take it out of the selection. |
| Deselect | Click an empty spot, or press Esc. |
| Move | Drag inside a slice. Every selected slice moves together. |
| Resize | Drag one of the handles. |
| Open its properties | Double-click it. |
Where slices overlap, a click picks the one made last.
Each drag is one undo step, however many slices it moved.
9-slice center
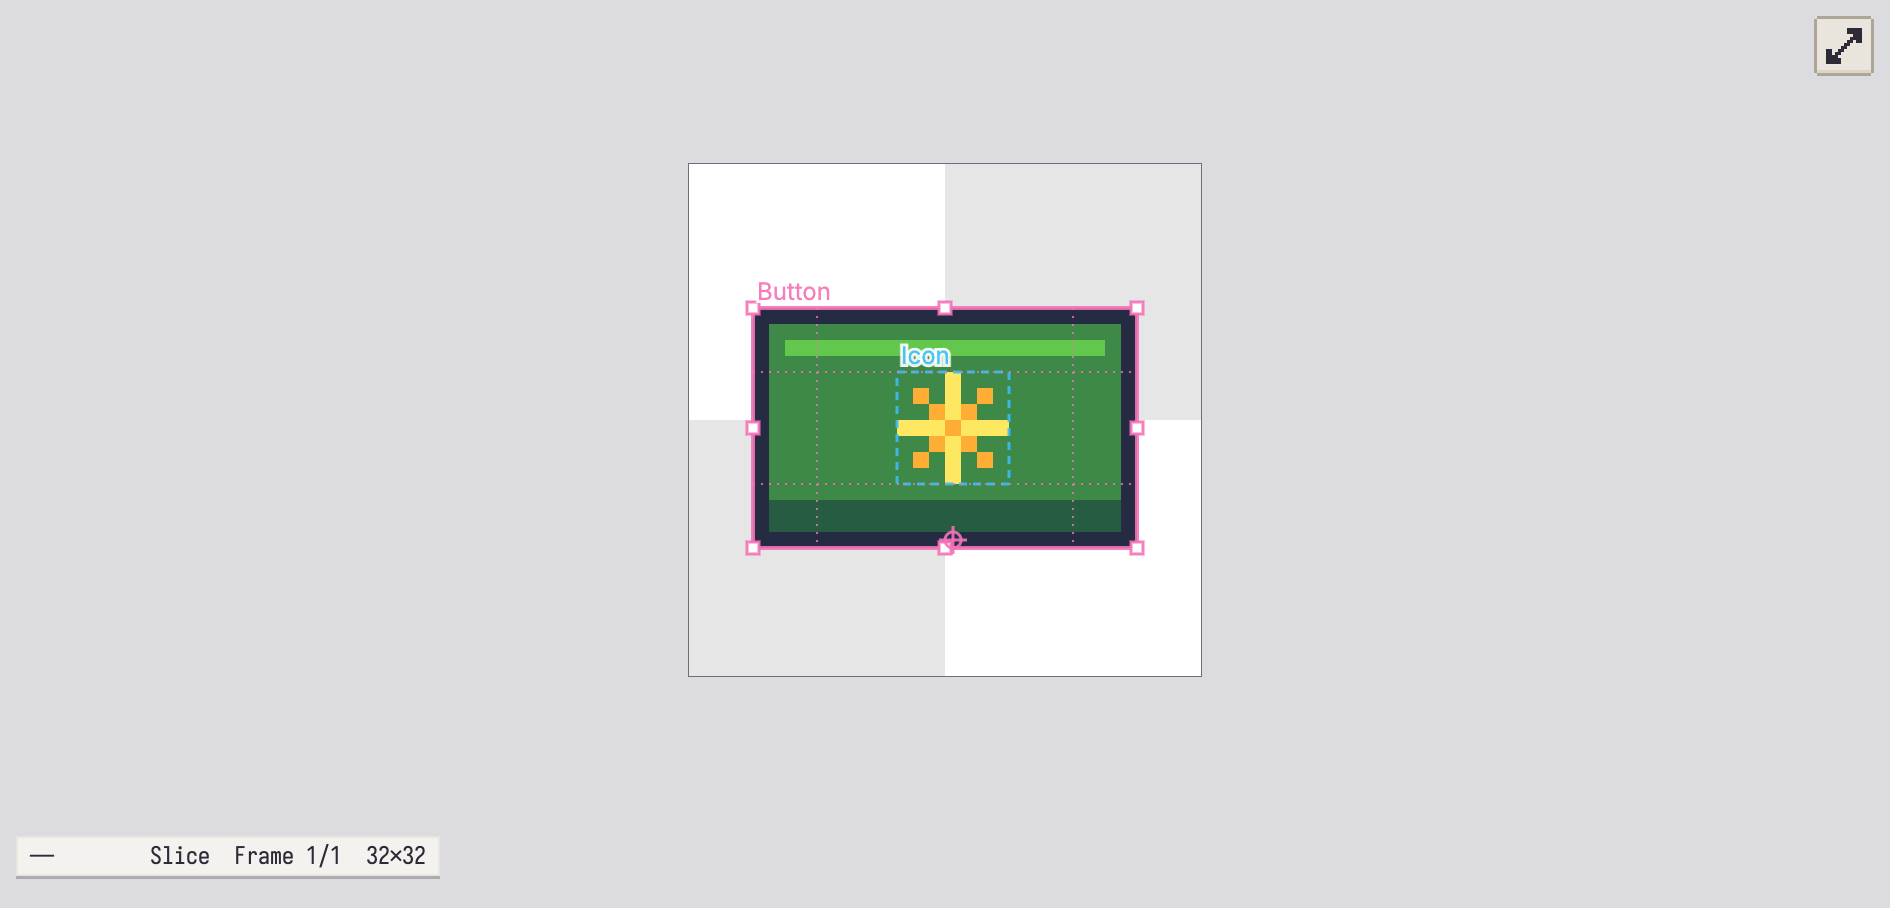
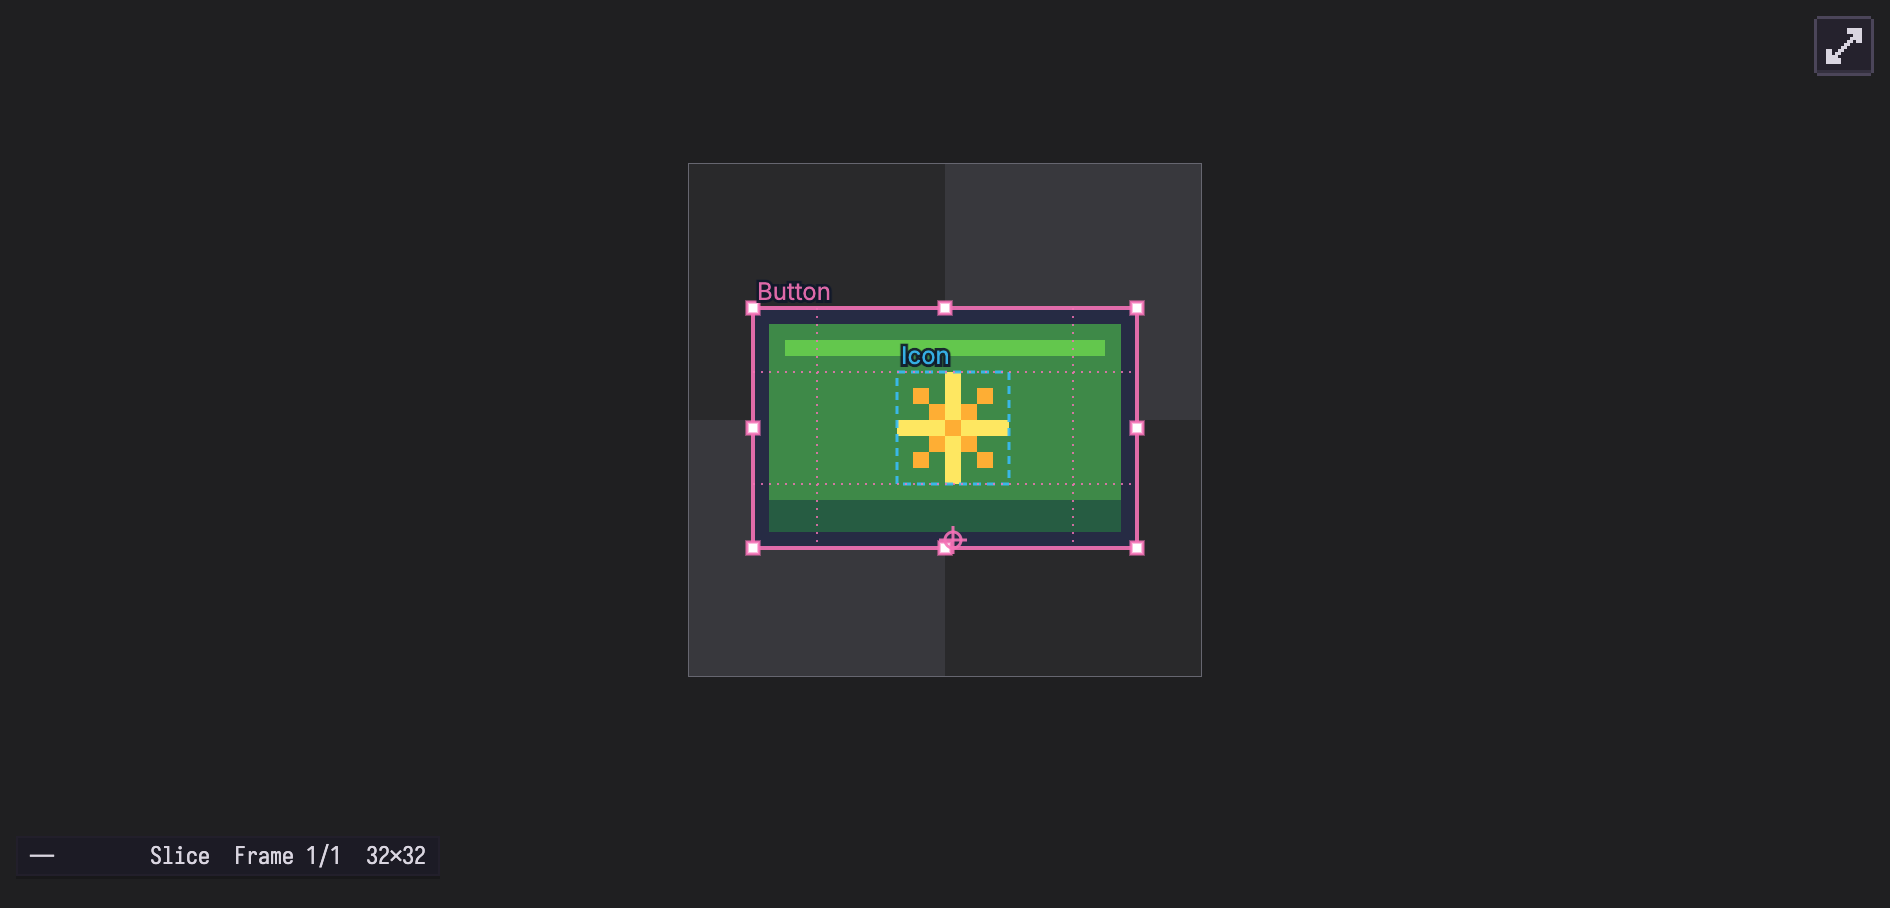
A 9-slice slice is split into a grid of nine parts by its center rectangle. When the art is stretched (a button or a dialog frame in a game), the corners stay as drawn, the edges stretch along one direction, and the center fills the rest.
- Turn it on: right-click the slice and choose Set 9-slice. The middle third of the slice becomes the center, shown as four dotted lines across the slice.
- Adjust it: select the slice and drag any of the four dotted lines.
- Set it exactly: use 9-slice (center) in the Slice Properties dialog.
- Turn it off: right-click and choose Remove 9-slice.
The center must lie inside the slice.
Pivot
The pivot is a point your game can use as the slice's anchor: a character's feet, the spot a sprite rotates around. It shows as a small crosshair.
- Set it: right-click the slice where you want the pivot and choose Set Pivot. The pivot goes on the pixel you clicked.
- Move it: select the slice and drag the crosshair.
- Remove it: right-click and choose Remove Pivot.
The pivot can lie outside the slice.
Slices that change over the animation
A slice's position, size, center and pivot can change from frame to frame, while its name stays the same. Go to the frame where it should change and edit the slice there (drag it, or change it in Slice Properties). That frame gets its own key: the new geometry holds from that frame on, until the next frame with a key of its own. Editing on the first frame changes the slice's own geometry.
To undo a change from one frame on, go to that frame, right-click the slice and choose Remove Slice Key (shown only on frames that have their own key), or delete the key in the Slice Properties dialog. The geometry before it then carries on.
Slice Properties
Double-click a slice with the Slice tool, choose Slice Properties... from its right-click menu, or choose Sprite > Slice Properties... (which opens the slice made last; the dialog can switch to any other). It has:
- Slice: which slice you're editing, when the sprite has more than one.
- Name, and the bounds: X, Y, Width and Height, in sprite pixels.
- 9-slice (center), with Center X, Center Y, Center W and Center H.
- Pivot, with Pivot X and Pivot Y.
- Keys, when the slice changes over time: each frame with its own geometry, with Go to and Delete key.
- User data: a color and a note, written to the sprite sheet data with the slice.
- Delete Slice.
The center and the pivot are measured from the slice's top-left corner, as in Aseprite. The dialog edits the slice as it is on the current frame; saving a change on a later frame gives that frame a key.
The right-click menu
Right-click a slice with the Slice tool for:
| Item | Does |
|---|---|
| Slice Properties... | Opens the dialog above. |
| Duplicate Slice | Adds a copy named "name copy", with all its keys, and selects it. |
| Delete | Deletes the slice. |
| Set 9-slice / Remove 9-slice | Adds a center or removes it. |
| Set Pivot / Remove Pivot | Puts the pivot where you clicked, or removes it. |
| Remove Slice Key | Removes this frame's key (only on frames that have one). |
Each of these is one undo step.
Deleting slices
Select slices with the Slice tool and press Del or Backspace, use Delete in the right-click menu, or Delete Slice in Slice Properties. With the Slice tool active and slices selected, Edit > Delete deletes the slices instead of pixels.
Slices when the canvas changes
Resizing, cropping, trimming, rotating and flipping the sprite move and resize its slices along with the art (Resizing, cropping and effects).
Where slices go
- Export can save just one slice, or every slice as its own file: choose it under Area in File > Export... (Opening, importing and exporting).
- Aseprite files keep every slice, with its keys, center, pivot and user data, both ways (Opening, importing and exporting).
- Sprite sheets: the JSON data lists each slice in Aseprite's format: its name, its user data color and note, and a key per frame where it changes, with the bounds, center and pivot, scaled with the sheet.
- Scripts can add, read, change and remove slices (Slices in the scripting reference).