Layers
Stack your art on layers, group them, lock them, and control how they blend.
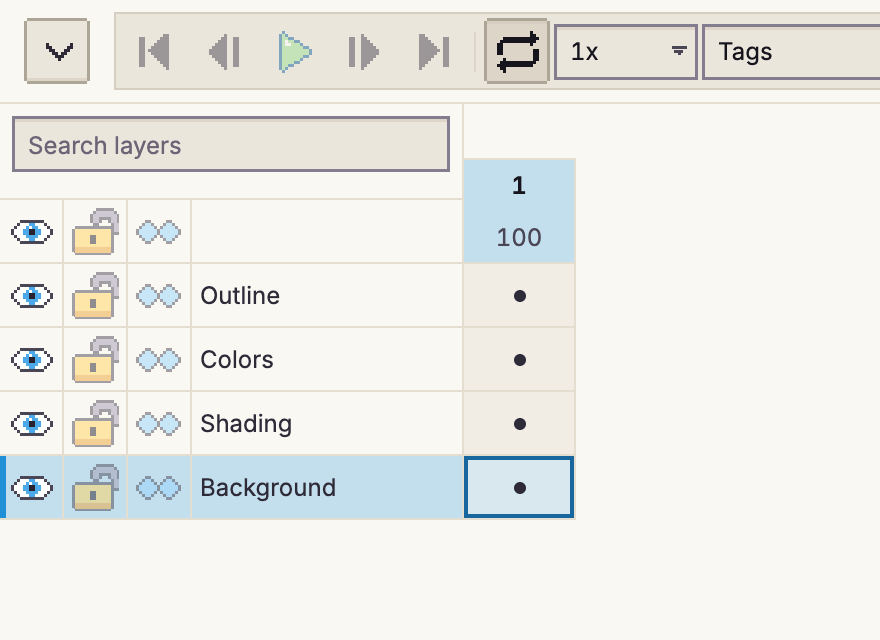
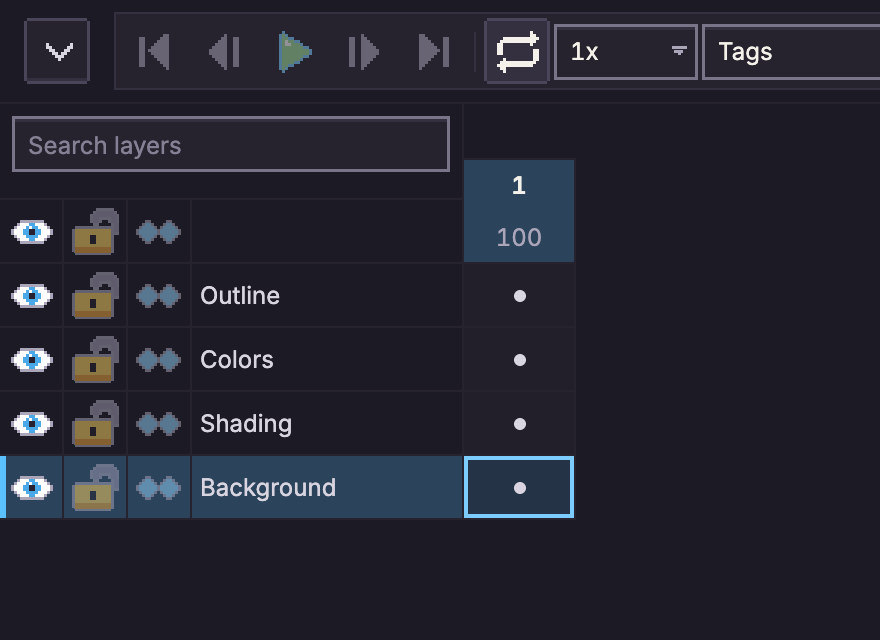
A sprite is built from layers stacked on top of each other. Each layer holds one image per frame (a cel), so you can draw the outline, the colors and the shading separately and change one without touching the others. Layers are listed down the left side of the timeline, top layer first.
Adding and removing layers
- New layer: Layer > New Layer (Shift+N) adds an empty layer above the active one.
- Duplicate: Layer > Duplicate Layer copies the active layer and its cels.
- Delete: Layer > Delete Layer (Ctrl+Alt+Shift+L).
- Rename: press F2 on a layer, or right-click it and choose Rename Layer.
Click a layer to make it the active layer: drawing tools paint on the active layer at the current frame. Right-click any layer for a menu of everything you can do with it. Alt+click a layer to select its painted pixels instead (Selecting).
Ordering layers
Drag a layer by its handle () to move it up or down the stack, or use Layer > Move Layer Up and Layer > Move Layer Down. Layers higher in the list are drawn on top.
Showing, hiding and locking
Each layer row starts with three buttons, in columns, before its name:
| Button | What it does |
|---|---|
| Visible | Hides or shows the layer. Hidden layers aren't drawn on the canvas or in exports, and can't be painted on. |
| Lock | Locks the layer's content: nothing on it can be painted, erased or moved. |
| Continuous | Frame > New Frame links the layer's cel to the one it copies instead of making a separate copy: handy for a background that stays the same across frames. Click it to make the layer discontinuous (), the default, so new frames get their own copy. The Background layer starts out continuous. Groups have none. |
The icons above the columns set every layer at once: click the eye to show all layers (or hide them all when they're all shown), and the same for the lock and continuity.
Lock movement keeps a layer's cels in place (the Move tool, timeline drags and nudges leave them alone), while painting still works. Turn it on in Layer > Layer Properties...; the layer then shows a pin () before its name. The Background layer's movement is always locked.
To show or hide several layers at once, press one eye and drag over the others while holding the button down. Each layer you pass over takes the same visibility as the first one, and the whole drag is undone in one step.
To look at one layer on its own, Alt+click its eye, or choose Layer > Solo Layer. Every other layer is hidden (the groups it's in stay shown). Do it again to bring back exactly the layers that were hidden. Each step can be undone.
Finding layers
Type in the Search layers box above the layer list to show only the layers whose name contains what you typed, with the groups they're in (even collapsed ones). Point at the box to see how many layers match. Press Esc or clear the box to see every layer again. You can't drag layers to reorder them while searching.
Opacity and blend modes
Each layer has an opacity (0 to 100%) and a blend mode, which decides how its colors mix with the layers below. Click the opacity number on a layer, or choose Layer > Layer Properties..., to change them. pxstud.io has the same 19 blend modes as Aseprite, from Normal and Multiply to Hue and Divide.
The Layer Properties dialog also holds the layer's name, its visibility and locks, and its user data: a color that tints the layer's row in the timeline, and a note.
Groups
A group holds layers so you can treat them as one: hide, lock, move, duplicate or delete them together.
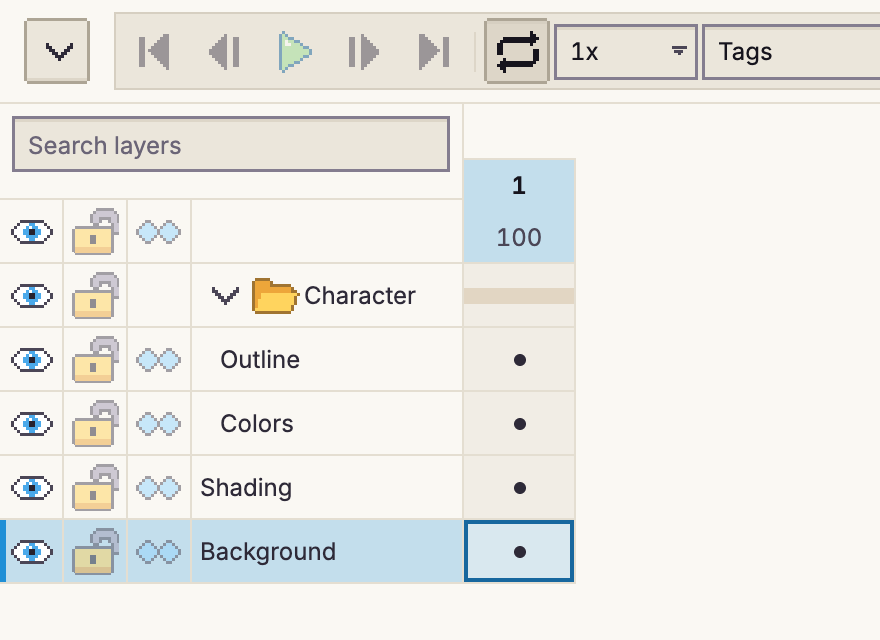
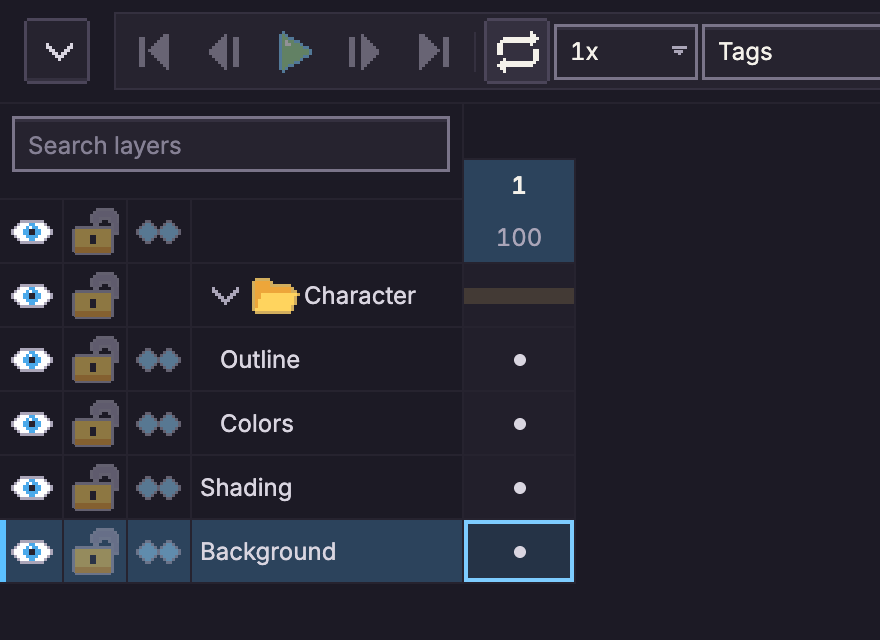
- Make a group: select cels on the layers you want in the timeline (or just click one layer) and choose Layer > Group Layers (Ctrl+G), or start an empty one with Layer > New Group.
- Add or take out layers: drag them into or out of the group.
- Ungroup: Layer > Ungroup (Ctrl+Shift+G) puts the layers back where the group was.
- Fold it away: the arrow () beside the group collapses or expands it.
Hiding or locking a group hides or locks everything in it.
A group at 100% opacity with the Normal blend mode is pass-through: its layers blend with the layers below as if they weren't grouped. An isolated group combines its layers first and blends the result as one image, so a Multiply or Screen layer inside only mixes with the group's own layers. Tick Isolate in Layer > Layer Properties... to isolate a group at 100% Normal (like Photoshop's Normal group, where pass-through is Photoshop's Pass Through). Any other opacity or blend mode always isolates the group, and the box shows ticked.
Clipping masks
A clipping mask shows a layer only where the layer below it has pixels. Paint shading, highlights or a texture on a clipped layer and it stays inside the shape underneath, however loosely you paint.
To clip the active layer, or every selected layer, choose Layer > Clipping Mask (Ctrl+Alt+G). Choose it again to release them. You can also tick Clipping mask in Layer > Layer Properties.... A clipped layer shows a bent arrow () before its name.
- A clipped layer clips to the nearest unclipped layer below it in the same group, its base. Several clipped layers in a row all clip to the same base.
- Each clipped layer keeps its own opacity and blend mode, which mix with the base and the clipped layers under it. The base's opacity and blend mode apply to the whole stack.
- Hiding the base hides its clipped layers too. On a frame where the base is empty, its clipped layers show nothing.
- A group can be a base, or be clipped. It's then combined on its own first, as if it were isolated.
- A clipped layer at the bottom of its group, or one directly above a reference layer, has nothing to clip to. It draws normally, and its arrow is dimmed.
- Reference layers and the Background layer can't be clipped.
Merging a clipped layer down into its base keeps only the part inside the base. Duplicating a base puts the copy inside its clipping stack. Split layers exports show a clipped layer on its own, still trimmed to its base.
Aseprite has no clipping masks. pxstud.io keeps them in .aseprite files as a property on the
layer, so they come back when the file is reopened in pxstud.io. In Aseprite those layers draw
unclipped.
Draft layers
A draft layer is for sketches, notes and construction lines: you see it on the canvas while you work, but it's never part of the finished art. Exports, Layer > Flatten Sprite and Layer > Stamp Visible all leave it out. Turn the active layer (or every selected layer) into a draft with Layer > Draft Layer, or tick Draft layer in Layer > Layer Properties.... A draft layer shows a pencil () before its name.
- A draft group makes everything inside it a draft.
- A clipped layer whose base is a draft layer is left out of exports too, as if its base were hidden.
- Reference layers and the Background layer can't be drafts.
.asepritefiles keep draft layers as a property on the layer. Aseprite shows and exports them like any other layer.
Layer effects
A layer or group can carry effects: adjustments, outlines, shadows and screen looks that are drawn over its pixels without changing them. Open Layer > Layer Effects... (or the layer's right-click menu), then Add effect and pick one:
- Style: Drop Shadow / Glow (also an inner shadow), Outline, Motion Echo (fading copies trailing behind), Edge Detect, Smoother, Auto-Shade (highlights and shadows from a light direction, see Auto-Shade);
- Color: Levels, Modulate, Color Balance, Gradient Map, Hue/Saturation, Grayscale, Brightness/Contrast, Color Curve, Invert Color, Replace Color;
- Palette: Posterize, Bit Crusher, Threshold, Dither (an ordered pattern), Palette Swap (swap one list of colors for another), Anti-Alias (in-between colors on the stair steps where two colors meet, see Anti-Alias);
- Screen: Noise, CRT Scanlines, Chromatic Aberration, Pixelate, Vignette;
- Distort: Wave, Bend, Distortion (shifted bands), Parallax (brighter pixels move further);
- Lens: Blur and Bloom. These soften edges, so they make half-transparent pixels and in-between colors. For pixel art, set Edges to Hard (every pixel fully opaque or fully transparent) or Dithered (the soft edge becomes a dither pattern that stays put as the layer moves), and Colors to Palette only (every pixel takes the nearest color of the frame's palette, as baking an indexed sprite does). Indexed sprites start with Palette only.
A Drop Shadow / Glow can have a soft edge too: Softness fades it over up to 8 pixels, and its Edges are Dithered by default (the one shadow color in a dither pattern that stays put), or Hard or Smooth (see Drop Shadow). Softness can be animated.
Three entries are ready-made settings of another effect: Grayscale is Hue/Saturation with the saturation all the way down (in OKLCH, so each gray keeps its color's lightness), Modulate is Levels with each channel's output white set to a tint color (the colors are multiplied by it), and Bit Crusher is Posterize with 4 levels per channel. The effects list shows them under that effect's name; change the settings as you like.
The Color effects have the same controls as their Filter menu dialogs. Every effect is deterministic: the same sprite always draws the same pixels, noise and distortion included (they take a Seed).
Each effect has a checkbox to switch it off without losing its settings, buttons to move it up or down the list and to edit or remove it, and the canvas shows the result while its dialog is open. Effects run in order, bottom to top. A layer with effects shows fx in the timeline.
- Every change is one undo step, and effects can be edited on a locked layer.
- A group's effects act on its layers after they are combined, which also makes the group composite on its own, like a group with an opacity or blend mode. A clipped layer's effects run before it is clipped.
- The Background layer takes the effects that change a pixel on its own (colors, Noise, Dither, Scanlines, Vignette, Palette Swap), not the ones that read around it. Reference layers take none.
- Anything that composites the sprite includes them: exports, Layer > Flatten Sprite, Layer > Stamp Visible, the preview and merging (which bakes the merged layers' effects). A script reading a layer's pixels sees the cels, not the effects.
- Bake into pixels (Layer > Bake Layer Effects) writes an image layer's effects into all of its cels and removes them, so the layer looks the same but can't be changed back. A shadow or outline grows the cel up to the canvas edge; indexed sprites snap the result to the palette. Groups and tilemap layers can't be baked: merge a group, or convert a tilemap layer to an image layer, first.
.pxstudiofiles keep effects. Aseprite, Photoshop, OpenRaster and Piskel files have no such thing, so those exports write an image layer's effects into its pixels; effects on groups and tilemap layers are left out (the Export dialog says so).
Animating an effect
Press Animate on an effect to make its settings change over the frames. Each animatable setting has keys: press Key the active frame to add one with the value it has there, then change a key's frame, value and easing. Before a setting's first key and after its last, it holds; between two keys it eases (the easing belongs to the earlier key: Linear, Hold, Ease in/out, Overshoot, Elastic, Bounce, steps), either by frame count or, with Time, by how long the frames last. Colors animate too (a shadow shifting from red to green). A setting with no keys keeps the value from the effect's own dialog. Every key is on a frame, so it follows that frame if you move it. Tweening uses the same easings and the same notion of progress.
Baking an animated layer writes each frame its own picture (frames that shared a linked cel stop sharing it).
Adjustment layers
Layer > New Adjustment Layer adds a layer with no pixels of its own, only effects: they change everything below it, on every frame, at the layer's opacity. Use it for a color grade, a vignette or a CRT look over a whole animation (add the effect, then Animate it for a fade).
- Inside a group it changes the layers below it in that group; inside a group that composites on its own (an opacity, a blend mode, effects or Isolated) nothing outside the group changes.
- Clipped, it changes only the layer it clips to.
- It takes the effects that change a pixel on its own (the Color and Palette effects, Noise, Scanlines, Vignette, Palette Swap), and always the Normal blend mode.
- Layer > Merge Down bakes it into the layer below. Aseprite, Photoshop, OpenRaster and Piskel files can't hold one, so those exports leave it out (the Export dialog says so); PNG, GIF and sprite sheets include it.
Merging and flattening
- Layer > Merge Down (Ctrl+E) combines the active layer with the one below it, exactly as they look together (even if one is hidden). The layer below ends up at 100% opacity and the Normal blend mode with its old opacity built in, so the picture doesn't change, unless it used another blend mode: then it's combined as it looks on its own, as in Aseprite. A layer with clipped layers on it takes them along. You can't merge an unclipped layer onto a clipped one.
- Layer > Merge Up combines the active layer with the one above it. The result looks the same as Merge Down of that layer, but keeps the upper layer's name and color.
- Layer > Merge Selected Layers combines the selected layers into one, exactly as they look together, at the topmost one's place and with its name. They must all be in the same group. Selected layers that are hidden are shown while merging and merged too. If the Background layer is one of them, the result is the Background.
- Layer > Stamp Visible (Ctrl+Alt+Shift+E) adds a new layer named "Visible" holding everything you see, flattened, on every frame, and keeps all your layers. It goes above the active layer (above its whole group, if it's in one). Draft and reference layers are left out.
- Layer > Flatten Group turns the active group into a single layer with the group's name, opacity and blend mode, holding everything in it as it looks. Hidden, draft and reference layers inside it are deleted. A group at 100% Normal whose layers use other blend modes can look different afterwards, since its layers now blend with what's below as one image.
- Layer > Flatten Sprite combines every layer into a single layer named "Flattened" (or into the
Background layer, if the sprite has a visible one), as in Aseprite. Hidden layers are shown
while flattening and merged too (except hidden layers inside a group, which are deleted with
it). Draft and reference layers are deleted, not kept. Scripts can flatten only the visible
layers and keep the hidden ones with
app.flattenSprite(true)(Aseprite's Flatten Visible).
All of these can be undone.
The Background layer
A Background layer is opaque and always at the bottom, like the canvas of a painting. Use Layer > Background from Layer to turn the bottom layer into one, and Layer > Layer from Background to make it an ordinary layer again. It can't be moved up the stack.
Other kinds of layers
- Reference layers () hold an image to trace over. They're shown on the canvas but never exported. Add one with Layer > New Reference Layer....
- Tilemap layers () are painted with tiles from a tileset. Add one with Layer > New Tilemap Layer....